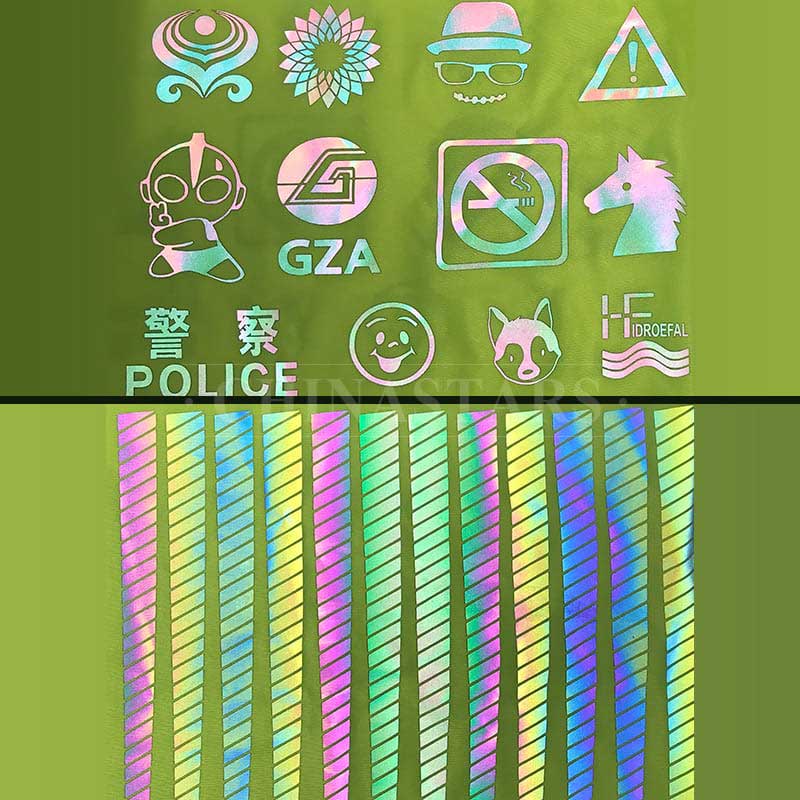
Rainbow Reflective Heat Transfer Vinyl is a fantastic and eye-catching material that can add a vibrant and reflective touch to garments and fabrics. It is commonly used in the garment decoration industry, especially for creating personalized apparel and accessories that stand out in low-light conditions. Applying Rainbow Reflective Heat Transfer Vinyl is a straightforward process, and in this guide, we’ll walk you through the steps to achieve excellent results.
Materials Needed:
- Rainbow Reflective Heat Transfer Vinyl
- Garment or fabric of your choice
- Cutting machine
- Heat press
- Weeding tool (for removing excess vinyl)
Step 1: Design and Cut Start by designing the artwork or text you want to transfer onto your garment using graphic design software. Once you have your design ready, send it to a cutting machine compatible with Rainbow Reflective Heat Transfer Vinyl. Alternatively, if you don’t have a cutting machine, you can cut the design manually using sharp scissors.
Step 2: Weed the Excess Vinyl Carefully weed (remove) the excess vinyl material from around the design using a weeding tool. This step is essential to ensure that only the desired design remains on the carrier sheet.
Step 3: Preheat the Heat Press or Iron If you’re using a heat press, preheat it to the recommended temperature (usually around 300-320°F or 150-160°C) for Rainbow Reflective Heat Transfer Vinyl. If you’re using a household iron, set it to the highest cotton setting without steam and allow it to preheat.
Step 4: Position the Vinyl on the Garment Place your garment on the heat press or a hard, heat-resistant surface if using an iron. Position the Rainbow Reflective Heat Transfer Vinyl design on the fabric with the carrier sheet facing up. Make sure it is centered and aligned as desired.
Step 5: Apply Heat and Pressure For a heat press, cover the design with a Teflon or silicone sheet to protect it and apply firm pressure for around 10-15 seconds. If using an iron, apply even pressure and hold it over the design for about 15-20 seconds, making sure to cover the entire area.
Step 6: Cool and Peel Allow the vinyl to cool down for a few seconds after applying heat. Once it’s cool to the touch, gently peel off the carrier sheet at a 45-degree angle. If any part of the vinyl starts to lift with the carrier sheet, lay it back down and apply more heat and pressure.
Step 7: Final Touches If necessary, repeat the heating and peeling process to ensure proper adhesion. Once the carrier sheet is removed, your garment is now decorated with the stunning Rainbow Reflective Heat Transfer Vinyl design!
Step 8: Post-Application Care To ensure the longevity of your design, wait at least 24 hours before washing the garment. Turn the garment inside out before washing, use a gentle cycle, and avoid using bleach or harsh detergents. Hang-drying is recommended, but if using a dryer, use a low-heat setting.
In conclusion, applying Rainbow Reflective Heat Transfer Vinyl to garments or fabrics is a creative and enjoyable process. By following these simple steps, you can add a touch of brilliance and uniqueness to your clothing, making them stand out day and night. Enjoy experimenting with this captivating material and unleash your creativity in garment decoration!
If you encounter any questions or concerns regarding the Rainbow Reflective Heat Transfer Vinyl or its usage, feel free to contact Chinastars. They are experts in producing high-quality reflective materials and will be more than happy to assist you. You can reach them via email at info@chinastars.com.cn. Their team is dedicated to providing excellent customer support and ensuring your experience with their products is nothing short of exceptional.
Now, it’s time to get creative and bring your designs to life with the dazzling and reflective beauty of Rainbow Reflective Heat Transfer Vinyl. Happy crafting!